Apple
How to transfer photos from a PC to an iPhone and send them to another person

To transfer photos from a PC to an iPhone, you can use the Finder app on a Mac or iTunes for Windows. Follow these steps:
- Connect your iPhone to your computer using a cable.
- On a Mac, open Finder and select iPhone > Photos. On Windows, open iTunes and click the phone icon > Photos.
- Select the box for Sync photos on your device and choose Sync settings. You can choose to sync all photos or select specific albums or folders.
- Apply the changes.
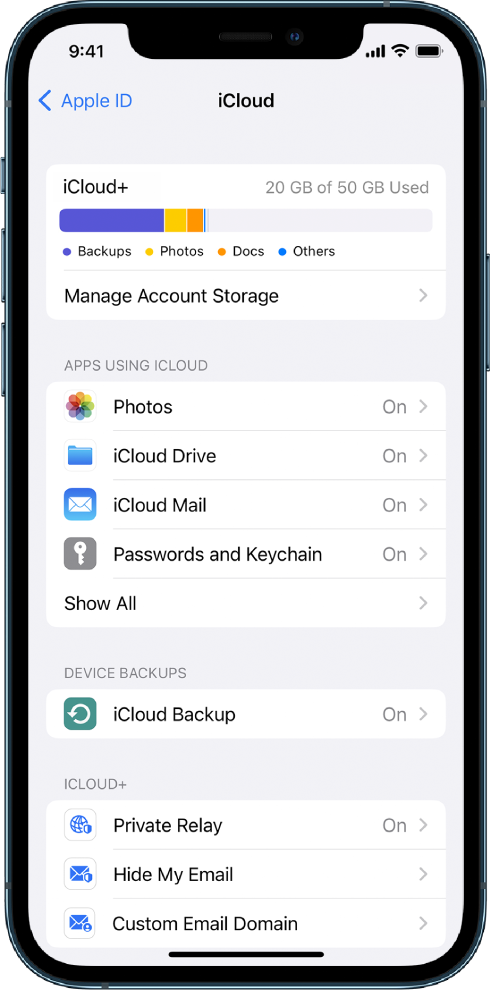
- Alternatively, you can enable syncing via iCloud or move your images to Google Photos. iCloud will automatically sync your photos to your iPhone and other devices, while Google Photos will allow you to store your photos online and access them from anywhere.
- Once you have transferred the photos to your iPhone, you can send them to another person via AirDrop, iMessage, or any other messaging app that supports photo sharing.

Please note that these instructions are for Windows 10 and macOS Monterey. If you are using a different version of Windows or macOS, the steps may be slightly different.
Here are some additional tips for transferring photos from a PC to an iPhone:
- Make sure that your iPhone is up to date with the latest software.
- If you are using a Mac, make sure that you are using the latest version of macOS.
- If you are using a Windows PC, make sure that you are using the latest version of iTunes.
- If you are having trouble transferring photos, try restarting your computer and your iPhone.
- If you are still having trouble, contact Apple Support for help.
How to transfer photos from an iPhone to a PC
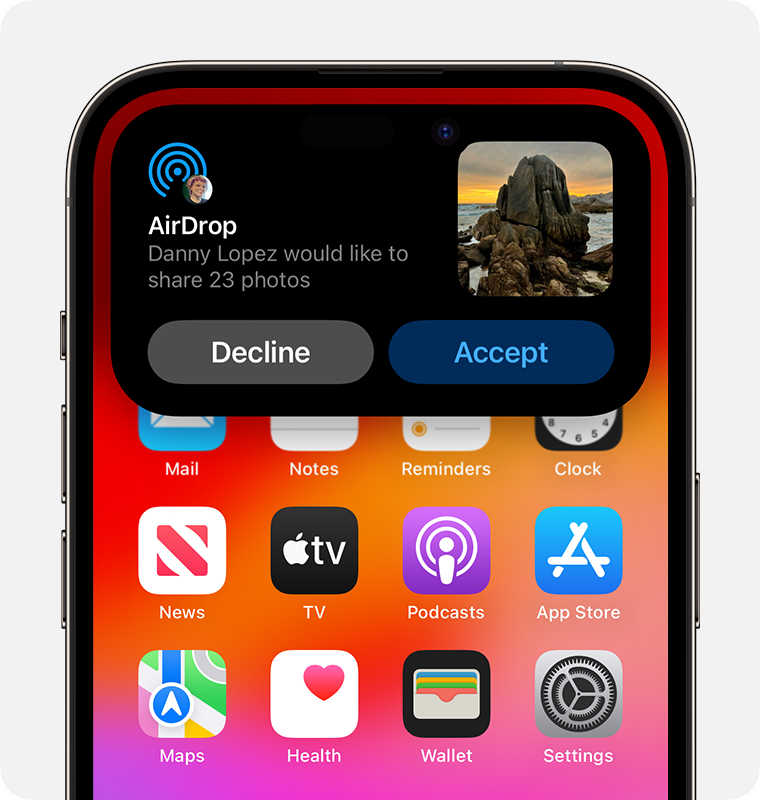
How do I use AirDrop?
To use AirDrop on your iPhone, follow these steps:
- Swipe up from the bottom of your screen to open the Control Center.
- Tap and hold the Wireless Controls box in the top-left corner of the Control Center.
- Tap AirDrop.
- Select Contacts Only or Everyone to choose who can see your device and send you content in AirDrop.
- Open the app that contains the file you want to share.
- Tap the Share button.
- Tap the AirDrop icon.
- Select the person you want to share with from the list of available devices.
Here are some additional tips for using AirDrop:
- Make sure that your iPhone and the other device are both within range of each other (about 30 feet).
- If you don’t see the AirDrop icon in the Share sheet, make sure that AirDrop is turned on for both devices.
- If you’re having trouble connecting with another device, try restarting both devices.
- You can also use AirDrop to share files with Macs and iPads.
What is the maximum file size for AirDrop?
AirDrop is a handy way to share files between Apple devices. The good news is that there is no file size limit for AirDrop. However, larger files may take longer to transfer, and the transfer time may vary depending on the size of the file and the speed of the network.
Can I use AirDrop to share files with a PC?
AirDrop is a file-sharing feature that allows users to send and receive files wirelessly between Apple devices. It is a convenient way to share photos, videos, documents, and other files with friends and family. However, AirDrop is only available for Apple devices. If you need to transfer files between an iPhone and a PC, you can use a USB cable, iCloud, or a third-party app like SHAREit.
Here are some more details about each method:
- USB cable: This is the most basic way to transfer files between an iPhone and a PC. Simply connect the two devices with a USB cable and open the File Explorer on your PC. Your iPhone will appear as a drive on your PC, and you can drag and drop files to and from it.
- iCloud: iCloud is a cloud storage service that allows you to store files online and access them from any device. To transfer files between an iPhone and a PC using iCloud, you will need to sign in to iCloud on both devices. Then, you can select the files you want to transfer and click “Share.” You can then choose to send the files to your PC via email or download them directly to your PC.
- Third-party app: There are many third-party apps that allow you to transfer files between devices. One popular option is SHAREit. SHAREit is a free app that allows you to transfer files wirelessly between devices. To use SHAREit, simply install the app on both devices and connect them to the same Wi-Fi network. Then, open the app and select the files you want to transfer.
Transfer photos from PC to iPhone with USB type c charger
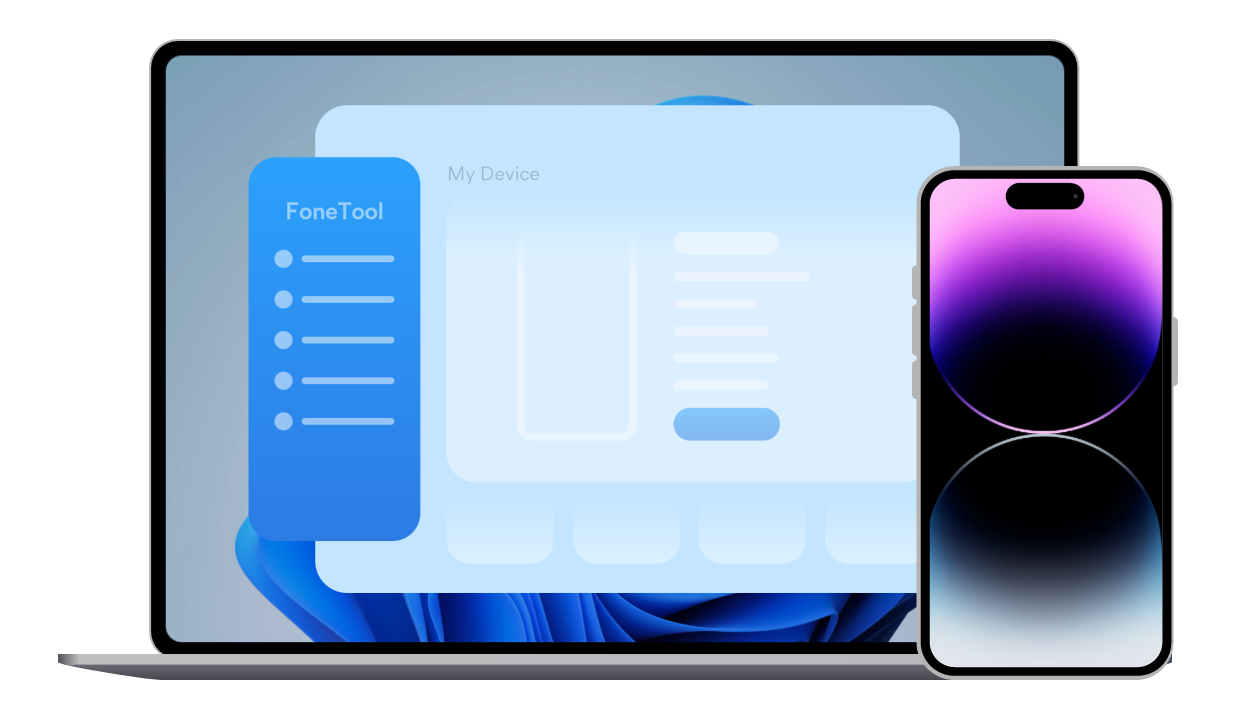
To transfer photos from your PC to your iPhone using a USB Type-C charger, you can use the FoneTool app or iTunes. Here are the steps:
- Connect your iPhone to your PC using a USB Type-C cable.
- Open the FoneTool app or iTunes on your PC.
- In FoneTool, select Phone Transfer and then click on PC to iPhone. In iTunes, click on the phone icon and then select Photos.
- Select the photos you want to transfer from your PC to your iPhone.
- Click on Start Transfer in FoneTool or click on Apply in iTunes.
- Once you have transferred the photos to your iPhone, you can send them to another person via AirDrop, iMessage, or any other messaging app that supports photo sharing.
Here are some additional tips:
- Make sure your iPhone is unlocked and that you have enabled USB debugging on your iPhone.
- If you are using FoneTool, you can also transfer other types of files from your PC to your iPhone, such as videos, music, and contacts.
- If you are using iTunes, you can also use it to manage your iPhone’s settings, such as its music, apps, and backups.
What is the difference between iCloud Drive and iCloud Photo Library?
iCloud Drive and iCloud Photo Library are two different cloud storage services offered by Apple. iCloud Drive is a general-purpose service that stores any type of file, while iCloud Photo Library is a dedicated service for photos and videos. Both services sync your files across all your Apple devices and use strong encryption to protect your data. You get 5GB of free storage with each service, but you can purchase more storage if needed.
Here is a table that summarizes the key differences between iCloud Drive and iCloud Photo Library:
| Feature | iCloud Drive | iCloud Photo Library |
| Type of files stored | Any type of file | Photos and videos |
| Storage space | 5GB free, additional storage available for purchase | 5GB free, additional storage available for purchase |
| Encryption | Yes | Yes |
| Syncing | Across all Apple devices | Across all Apple devices |
| Pricing | Starts at $0.99/month for 50GB | Starts at $0.99/month for 50GB |